Kimchi

Volcano Egg Kimchi Fried Rice

09.15.20

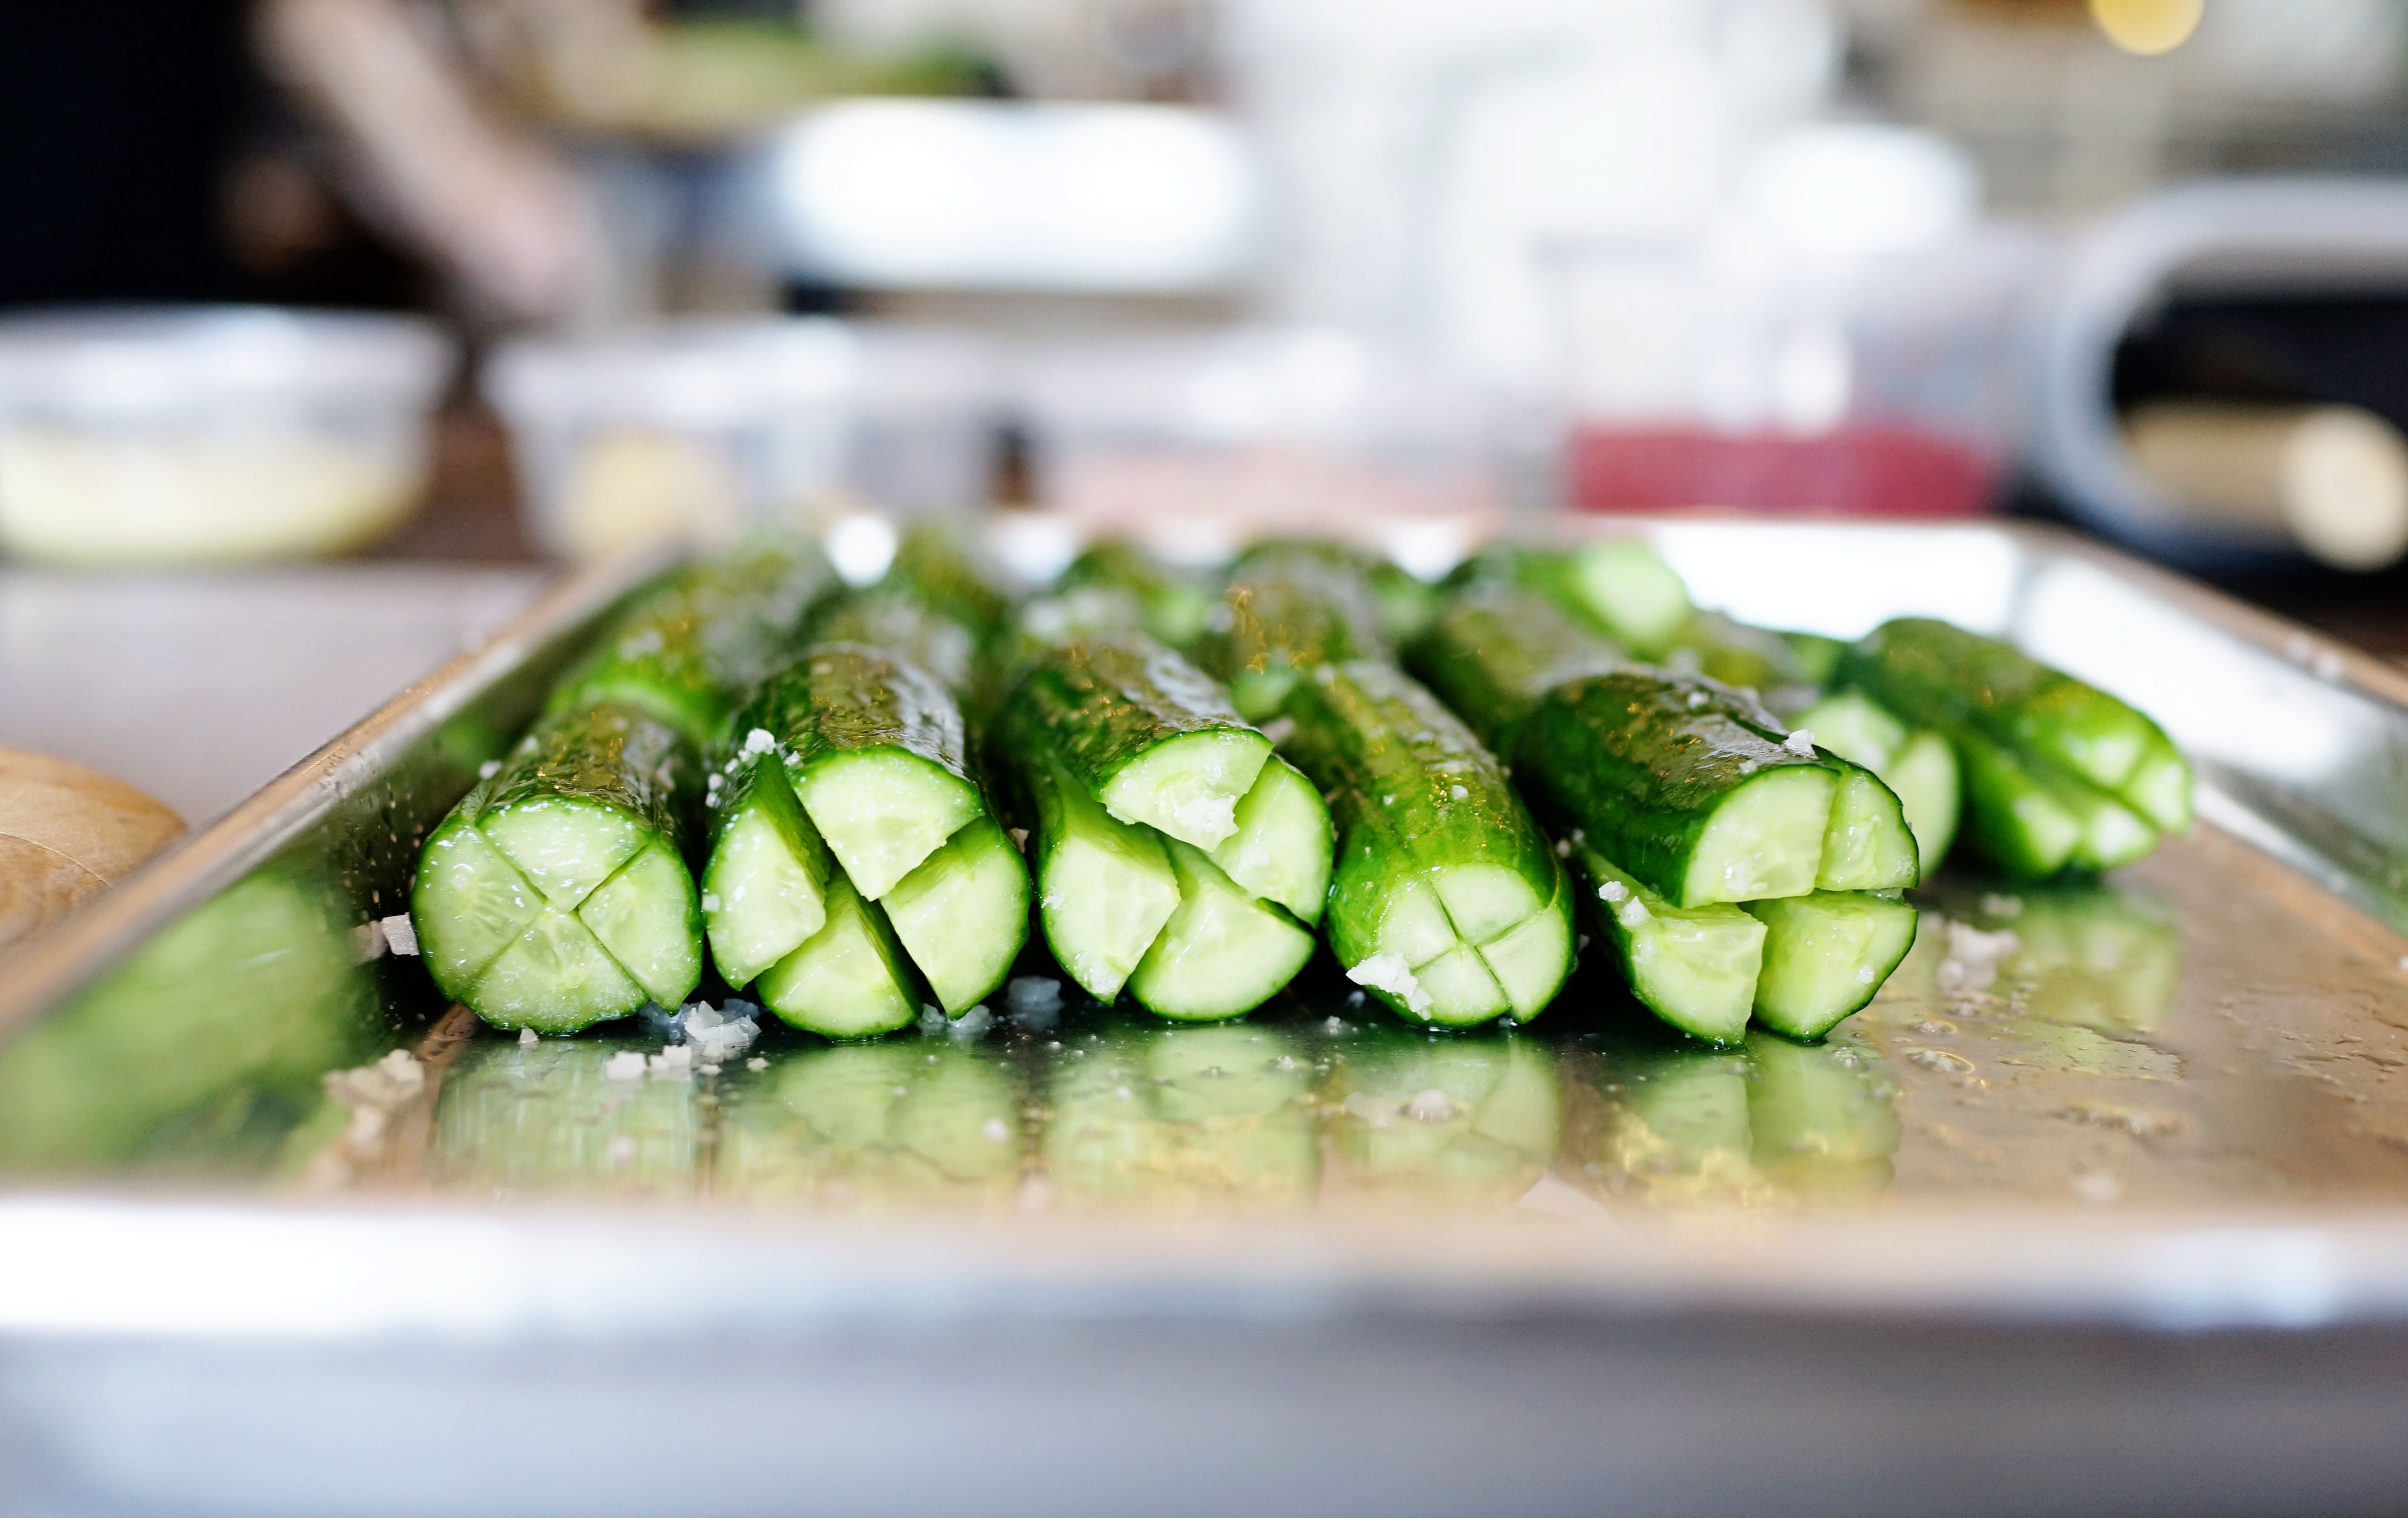
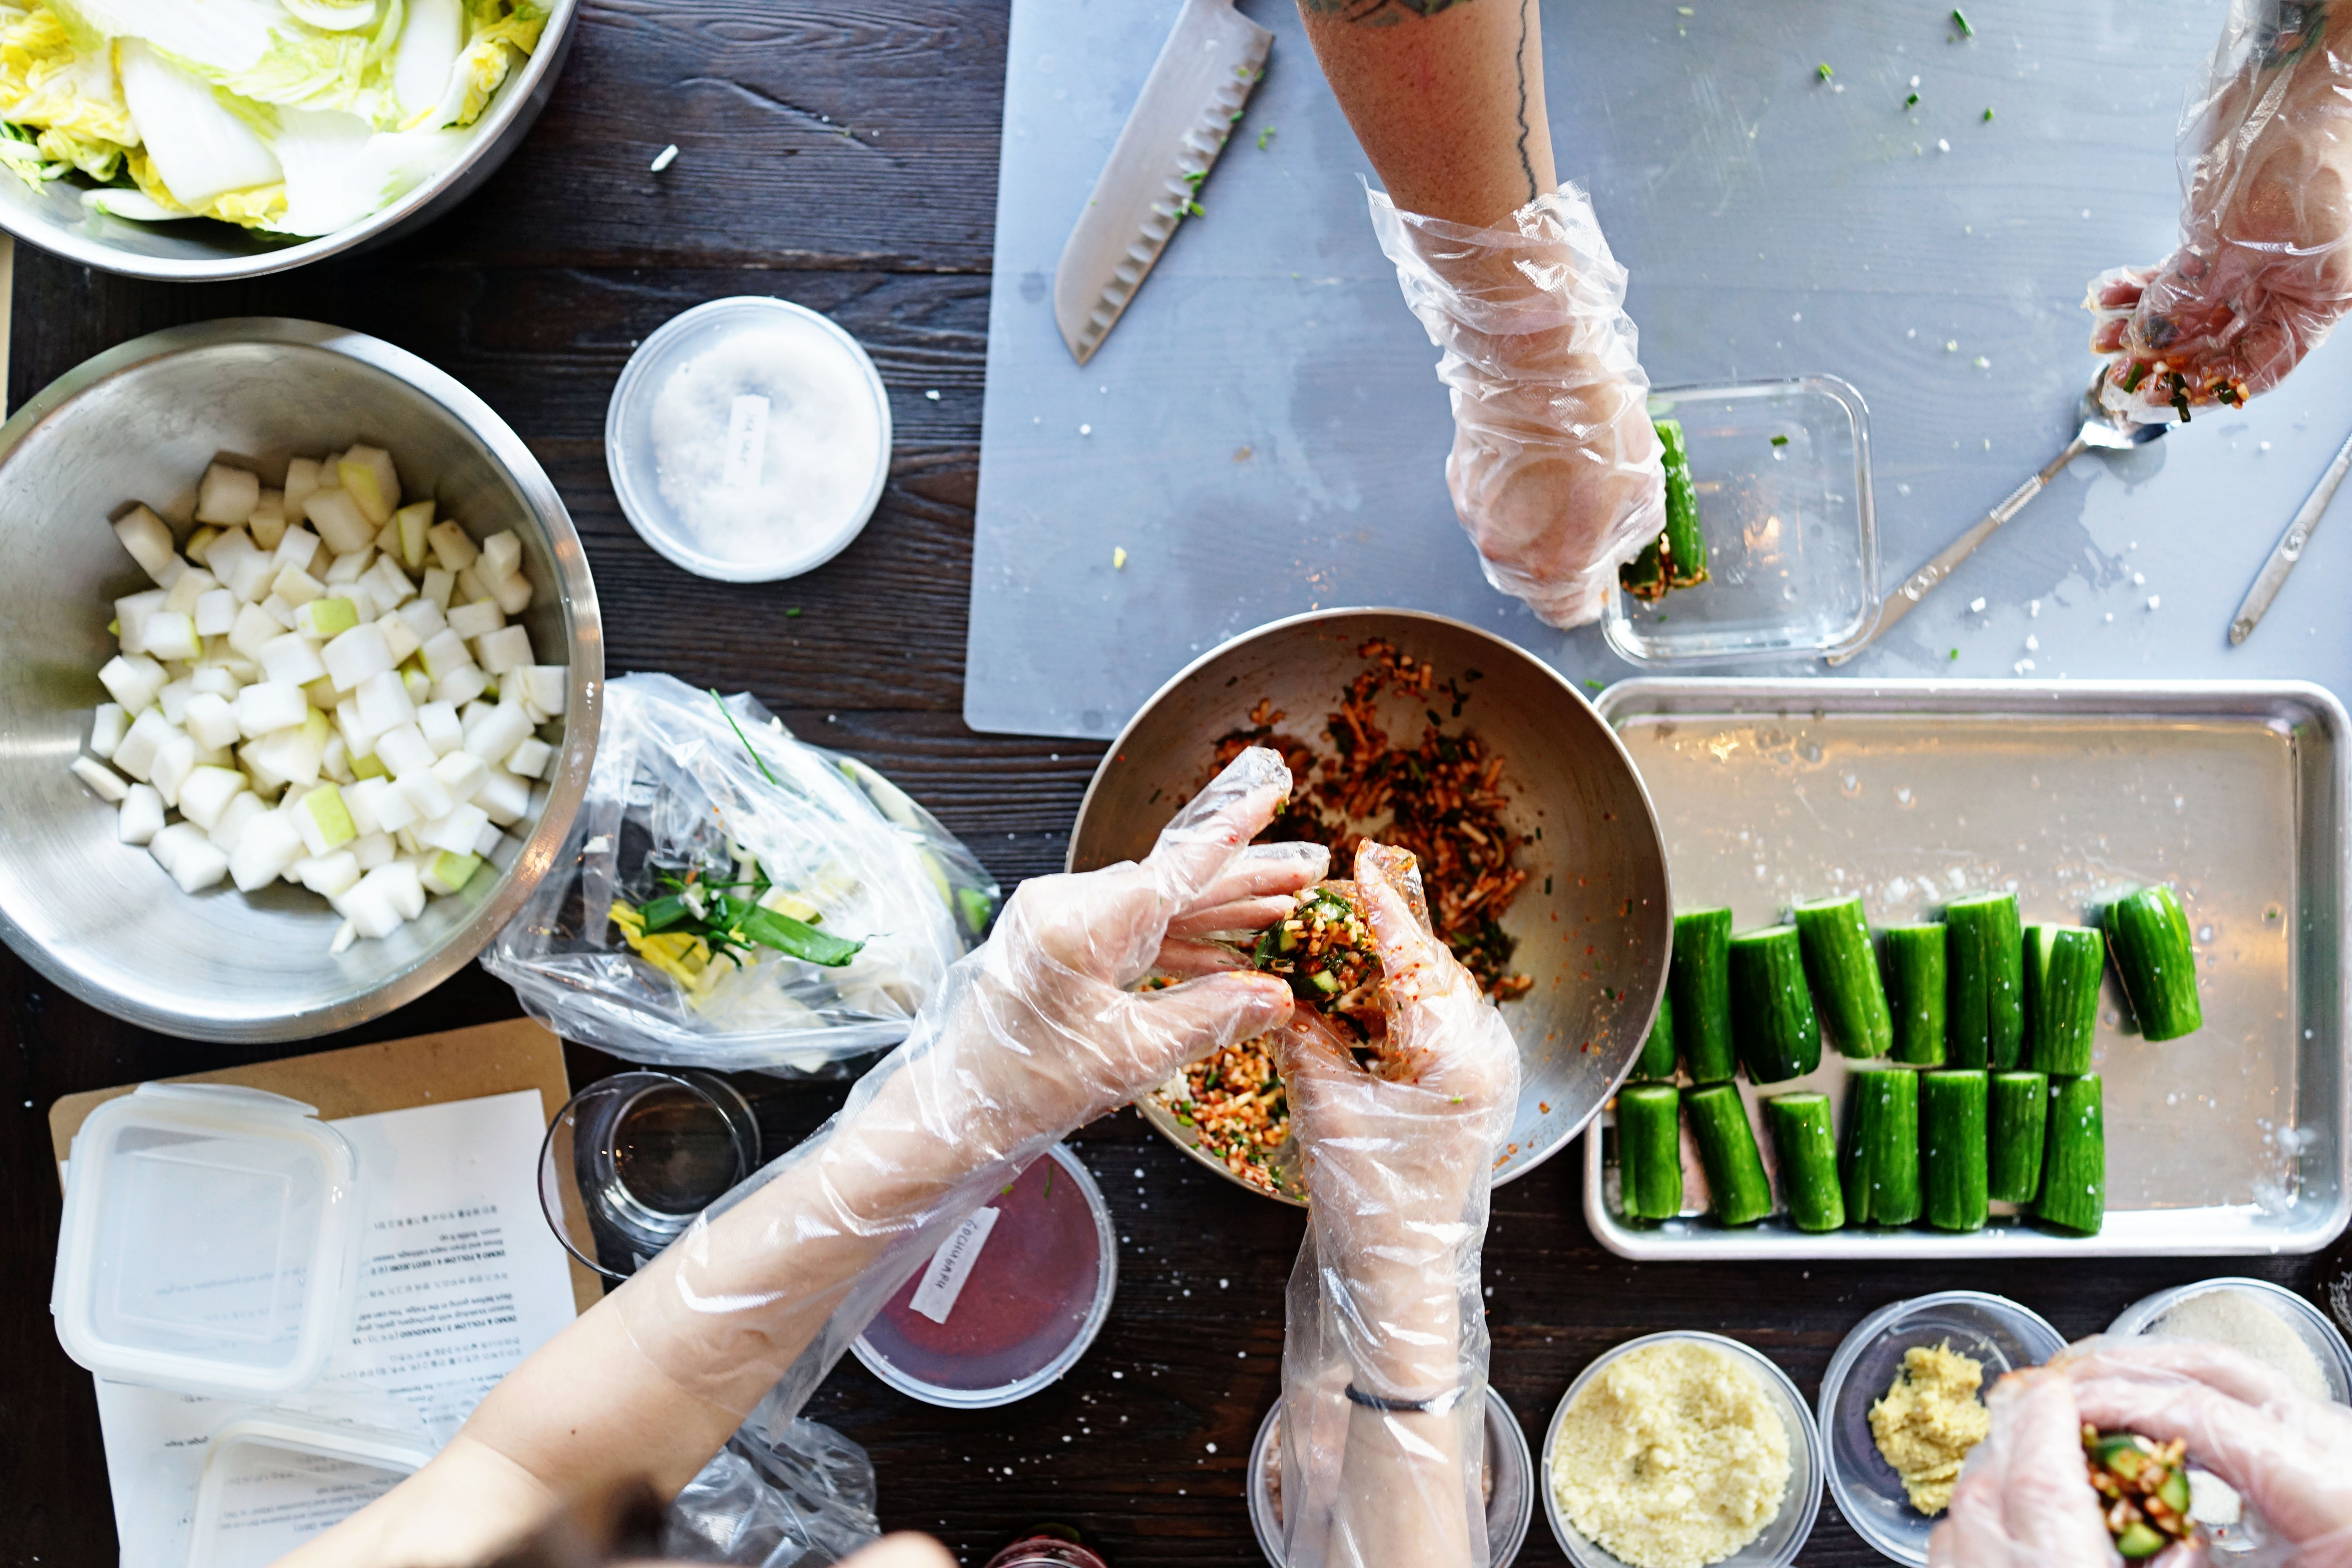
Oh myyyyy! I just realized my last post was back in March 2018. Where have I been? What’s been happening in my life? I have so much to say and tell but I’ll have to save that for another post. If you’ve been following me on Instagram, you might be aware that I have embarked on a pretty ambitious goal earlier this year. The goal is to come up with 100 recipes around kimchi. Making seasonal kimchi for fermentation but also any beloved Korean dishes using kimchi as a main ingredient. When the world pandemic happened in mid March and when we went into shelter-in-place, this project went into full gear and I decided to share a few of my favorites here on my website. Ideally one every weekend. 

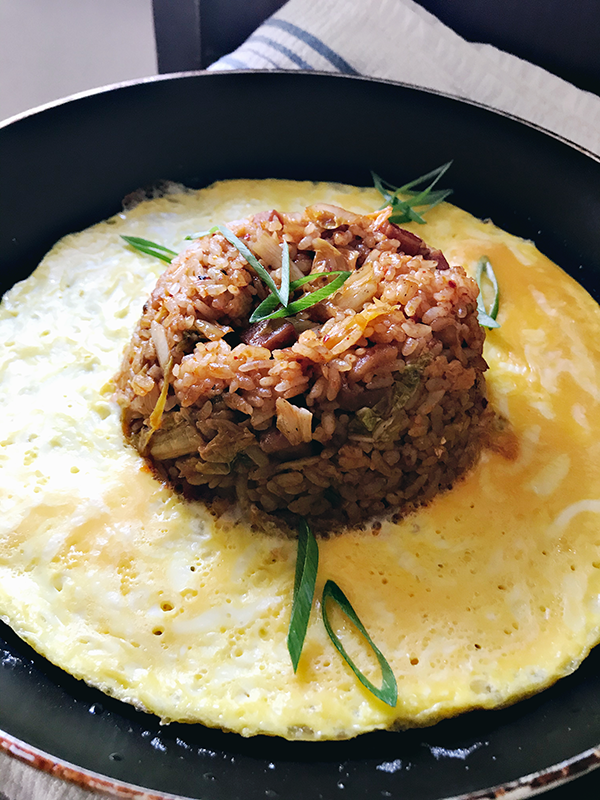
This dish is called ‘Volcano Kimchi Fried Rice’ and it’s basically a recreation of how you would normally see kimchi fried rice being served at famous Korean BBQ restaurants. Koreans are notorious for finishing their BBQ meal with fried rice made with any remnant sauce or meats. The BBQ grill usually has an outer rim of eggs with cheese melting on top. Here is an easy-to-make recipe that you can make at home and get the same kind of experience. #wkdkimchiproject #100waystokimchi


VOLCANO EGG KIMCHI FRIED RICE (고깃집 김치볶음밥) – 1-2 servings

INGREDIENT

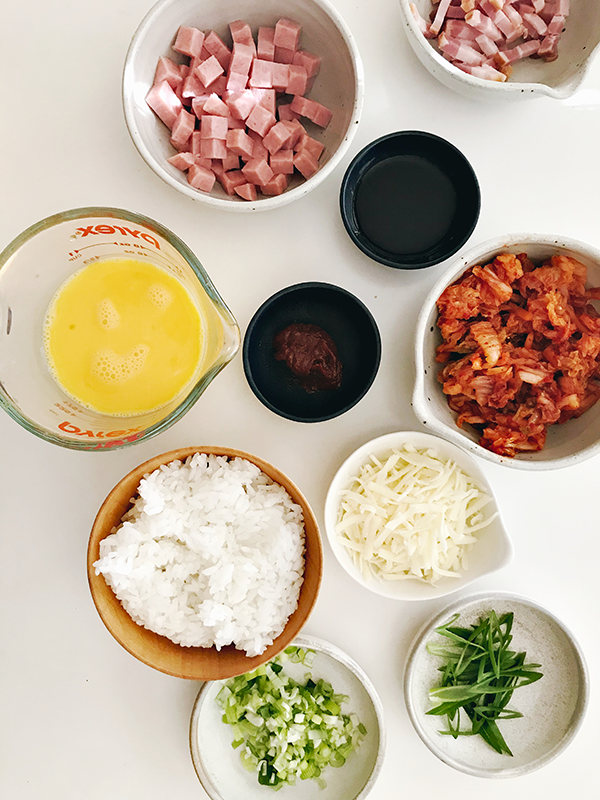
  • 1 bowl of cooked rice (approx. 2 cups, preferably day-old, kept in room temperature)
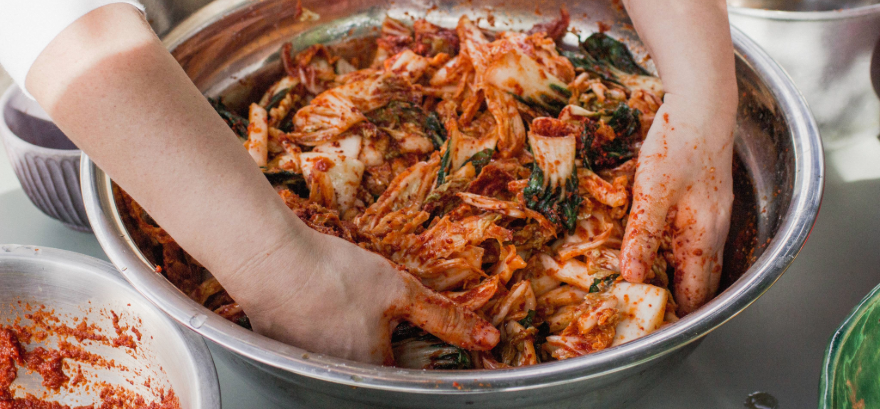
  • 1 cup chopped kimchi (just ripe, ready-to-eat)
  • 1 cup chopped spam or bacon
  • 2 green onions
  • 1/2 cup mixed shredded cheese (pizza blend with mozzarella works great!)
  • 1 tsp gochujang or gochugaru (korean chili pepper paste or powder)
  • 3 tbsp neutral cooking oil / 2 tbsp if using bacon(preferably grapeseed oil)
  • 2 tbsp soy sauce
  • 3 eggs

PREPARATION

Prepare kimchi by cutting them in small pieces. Using the kitchen shear in a bowl will save time and mess! Finely chop the lighter part of the green onion and cut the greener part in thin slanted slices (‘sexy scallions’) to be used for the garnish. Cut spam in tiny little cubes, cut bacon into small thin strip pieces. Make egg mix by whisking 3 eggs to set it aside.

INSTRUCTION

Combine oil and chopped green onion over low-medium heat and cook it until it starts to sizzle. If you are using bacon as your choice of protein, add less oil. Add spam or bacon and cook it until fat is melted and the meat is cooked and brown. About 5 min. Add soy sauce, kimchi and gochujang and cook it until kimchi is nicely caramelized. If your kimchi is too sour, add a little bit of sugar. Turn the heat off to add rice and mix everything together thoroughly using two spoons or spatula by taking your time. Make sure every grain of rice is coated with kimchi mix. Put it back on high heat to stir-fry one last time. For creating the volcano like plating, create a mountain shaped rice by using a bowl as your mold to put it upside down on a non-stick pan. Add the egg wash around the rim, add cheese then cook it for 5 min until cheese is melted. You can put a lid on to make the cheese and egg to cook faster. Add your ‘sexy scallions’ on top to serve. Enjoy.


10. Volcano Egg Kimchi Fried Rice (고깃집 김치볶음밥)

This is a recreation of fried rice made at popular Korean BBQ places. Korean BBQ meals always end with a fried rice with kimchi and seaweed crisps, maybe a cheese on top. No matter how full you are, there seems to be always a room for this. It's also a fun presentation to impress your guests.
DOWNLOAD

Send Download Link To:

Recipe All / Kimchi / Workshop

Banchan Workshop #14 at Oaktown Spice Shop

03.12.18

Hello friends, Yet again a long overdue post. Yikes, better late than never, right? I’ve been trying to keep my head above the water lately. It’s fine, It’s a good thing. Banchan workshop is picking up some momentum and I’m really really excited and happy to partner with Oaktown Spice Shop, named the best spice shop in the world by Food & Wine magazine! Oaktown spice opened a second location in Albany (on Solano Ave.) last year in addition to original location in Oakland (Grand Ave.). I hosted my kimchi workshop back in January at the new location and had a blast. We had a really good group and having to host the workshop at night time was relaxing and enjoyable. I’m really happy to report that I’ll be doing more kimchi workshops with Oaktown Spice in both locations and will be introducing different type of kimchi that you can easily make at home! Next one is scheduled on April 17 at Oakland shop. Meanwhile, check out this updated Stuffed Cucumber Kimchi (Oisobagi) recipe below and also the original recipe I worked on with my mom few years back. I’ll need to schedule a new training session with my mom soon. I only have 99 more types of kimchi to tackle. Gah!


Image 1, 2 Photography by Lisa Wong Jackson

OISOBAGI, STUFFED CUCUMBER KIMCHI (오이소박이)yields 16 pieces
This recipe is in collaboration with Oaktown Spice Shop

INGREDIENT
8 Persian cucumbers
2 cups shredded and chopped Korean radish or daikon radish
1 cup chopped chives
1 cup chopped green onion

SEASONING
¼ cup sea salt
4 tbsp kimchi chili (gochugaru)
1 tbsp granulated garlic
2 tsp ground ginger
2 tbsp preserved baby shrimp or fish sauce
1 tbsp sugar

INSTRUCTIONS
Cut two ends of each cucumber and cut them into two small trunks (1.5 to 2-inches long) using a smaller knife, cut criss-cross down leaving 1/8″ closing on the bottom (use wider side as bottom). Sprinkle with sea salt to coat evenly. Use your fingers to coat inside cut area. Sit in room temperature for 45 min to 1 hr.

Make stuffing by finely chopping radish, chives and green onion. No longer than 1″ width for easier stuffing and fermentation. Season stuffing ingredients with kimchi chili (gochugaru), preserved shrimp, sugar, garlic and ginger. Add fish sauce (for extra umami flavor!). If you can’t find salted baby shrimp, use more fish sauce. Taste and adjust seasoning by adding more chili, sugar, garlic and fish sauce if needed.

Squeeze out some of the liquid from the salt-brined cucumbers. Insert stuffing in the cucumbers and rub the seasoning on the outside too. Stack it in glass jar or a fermentation jar. Rectangular jars will work best for cucumber kimchi to ferment well and stay intact.

FERMENTATION
Cucumber fermentation will usually take about 3-5 days depending on temperature. Place it in shaded area in your kitchen or shaded area in your backyard. Taste the kimchi after 3 days to see if you want to keep it outside longer or keep them in the fridge.